Grease Banishment: Clear and Simple Enamel Oven Tray Cleaning
Posted on 12/10/2025
Grease Banishment: Clear and Simple Enamel Oven Tray Cleaning
When it comes to maintaining a functional and hygienic kitchen, enamel oven tray cleaning is a must-do task that is often neglected. Grease and grime build-up not only affects the food quality and taste but also shortens the lifespan of your tray. In this comprehensive guide on grease banishment, you'll learn foolproof, clear and simple methods to restore your enamel oven tray to its original sparkling brilliance.

Understanding Your Enamel Oven Tray
Before diving into effective oven tray cleaning techniques, it's important to know what sets enamel trays apart. Enamel trays are steel or iron trays coated with a glass-like, durable enamel layer, offering a non-stick, easy-to-clean surface that's resistant to corrosion and rust. Despite these benefits, they can still harbor stubborn grease, baked-on residue, and unsightly stains if not cared for properly.
Common Grease and Grime Challenges
- Baked-on Fat: This is the sticky, dark substance that forms after repeated baking or roasting.
- Burnt Sugar or Caramel: Sweet bakes often leave an especially tough sugary glaze behind.
- Oily Residue: Even low-fat cooking leaves a slick of oil that can attract dust and grime.
- Food Particles: Tiny bits of food become fused to the tray, resisting quick wipes or casual rinsing.
Why Regular Enamel Oven Tray Cleaning Matters
Why is grease banishment so crucial? Besides the obvious hygiene concerns, there are several important reasons:
- Better Food Flavor and Aroma: Old grease imparts rancid aromas and taste to fresh bakes.
- Longer Tray Lifespan: Persistent grimy build-up can degrade the enamel surface, leading to chips and exposed metal.
- Easier Future Cleaning: A clean tray is less likely to develop overwhelming grime that demands harsh chemicals or vigorous scrubbing.
- Hygiene and Food Safety: Grease traps bacteria and can harbor mold, putting your family's health at risk.
Preparing for Grease Banishment: Essential Supplies
Great cleaning begins with the right tools and materials. Collect these essentials to ensure your oven tray cleaning is effective and hassle-free:
- Non-abrasive sponge (to protect the enamel finish)
- Soft-bristled brush for scrubbing into corners
- Baking soda -- a natural grease fighter
- White vinegar -- for breaking down tough stains
- Dish soap -- for everyday grease removal
- Microfiber cloth -- for delicate drying
- Old toothbrush -- for cleaning crevices
- Optional: Hydrogen peroxide (for extra stubborn grime)
- Optional: Rubber gloves (to protect your skin)
Step-By-Step Enamel Oven Tray Cleaning Methods
1. Simple Daily Cleaning for Light Grease Banishment
- Allow the oven tray to cool completely to prevent warping or injury.
- Rinse the tray with hot water to loosen any residue.
- Add a drop of dish soap to a non-abrasive sponge and gently scrub the surface.
- Focus on greasy patches but avoid using harsh scouring pads, which can scratch enamel.
- Rinse with hot water and dry with a microfiber cloth.
Tip: Never soak hot enamel trays in cold water, as this may crack the surface due to thermal shock.
2. Tackling Baked-On and Stubborn Grease
- Sprinkle baking soda liberally across the surface of the tray.
- Spray or pour warm white vinegar over the baking soda. Watch as it fizzes and works to loosen grime.
- Allow this foaming mixture to sit for 15-30 minutes for maximum effect.
- Using a soft brush or sponge, gently scrub off loosened grease.
- Rinse thoroughly and dry the tray.
Baking soda and vinegar are a proven natural duo for enamel oven tray grease removal!
3. Deep Cleaning Enamel Oven Trays with Hydrogen Peroxide
If you encounter set-in stains or years of accumulated grease, try this intensive, yet enamel-safe cleaning treatment:
- Sprinkle the tray generously with baking soda.
- Drizzle hydrogen peroxide over the baking soda.
- Add another thin layer of baking soda on top.
- Let the solution sit for at least 2 hours -- or overnight for severe build-up.
- Scrub gently using a sponge or soft brush.
- Rinse thoroughly to remove all residue and dry immediately.
Caution: Always spot-test hydrogen peroxide on a hidden section first and ensure the room is well-ventilated. Never use on colored enamel coatings.
4. Dealing with Burnt Sugar, Caramel, or Syrup
- Soak the enamel oven tray in hot, soapy water for 1-2 hours.
- Use a nylon scraper or old credit card to gently lift off burnt-on sugar when softened.
- Avoid using metal tools which will scratch the precious enamel layer.
- Repeat with baking soda and vinegar if needed.
Patience is key -- tough sugar stains may require repeated soaks and gentle persistence, not force.
What to Avoid When Cleaning Enamel Oven Trays
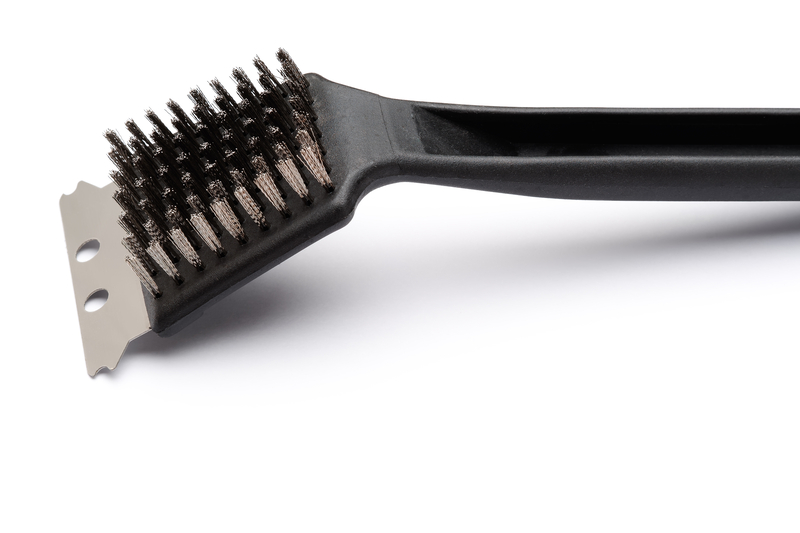
- Harsh abrasives: Steel wool, wire scourers, or gritty powders will scratch and dull enamel surfaces.
- High concentrations of bleach: These can discolor the enamel and upset its chemical balance.
- Sudden temperature changes: Don't plunge a hot tray in cold water or vice versa, as this can cause cracks or chips.
- Dishwasher risks: Some enamel oven trays are labeled dishwasher safe, but frequent hot cycles can dull and weaken the finish over time.
Proactive Tips for Lasting Grease Banishment
- Line your enamel tray with baking parchment, silicone mat, or aluminum foil during roasting, baking, or grilling. This offers major protection against stuck-on residue.
- Remove grease promptly after each use while the tray is still slightly warm (not hot!) for the best results.
- Avoid cutting directly on enamel trays, as knives can break the glassy layer and create spots that trap grease and bacteria.
- Store trays dry and upright to prevent accidental chipping and allow maximum airflow.
- Inspect regularly for chips in the enamel surface. Stop using trays with exposed metal, as these can rust and compromise both hygiene and taste.
Grease Banishment: Natural Vs. Commercial Cleaners
When it comes to clearing grease from enamel oven trays, you can choose between natural home remedies or targeted commercial cleaners. Which is best?
Natural Cleaners
- Baking soda and vinegar: Gentle, non-toxic, and cost-effective. Ideal for routine cleaning and light stains.
- Lemon juice: Works well for deodorizing and mild grease removal (apply diluted).
- Hydrogen peroxide: A potent oxidizer for deeply set grime, but use with caution.
- Safe for most enamel surfaces
- Eco-friendly and family-safe
- Inexpensive
- May require longer soak times and repeated applications for stubborn grease
- May not work on severe burnt-on food without some persistence
Commercial Oven Tray Cleaners
- Designed specifically for grease removal, some are marked "enamel safe."
- Contain solvents and surfactants to break down stubborn grease quickly.
- Read labels carefully: avoid products containing strong acids, lye, or abrasive particles.
- Rapidly dissolve grease with minimal scrubbing
- Convenient for extremely heavy soiling
- More expensive than homemade alternatives
- Potential for toxic fumes or residue if not rinsed thoroughly
- Some commercial cleaners are too harsh for enamel and can cause irreversible damage

FAQs on Grease Banishment for Enamel Oven Trays
Can I use steel wool to clean my enamel oven tray?
No. Steel wool or any abrasive scrubber will scratch the enamel surface, making it more susceptible to stains, grease, and even rust. Always use a soft sponge or brush designed for non-stick surfaces.
Is it safe to clean enamel trays in the dishwasher?
Although many enamel trays are labeled as dishwasher safe, repeated cycling can dull the glossy surface and increase chipping risk. For deep cleaning or greasy trays, manual washing is best. If you use the dishwasher, avoid stacking heavy pans on top and use the gentle cycle.
What is the easiest way to prevent grease build-up on enamel oven trays?
- Line trays with parchment or a silicone mat before cooking fatty or sugary foods.
- Clean trays promptly after each use, when grease is easiest to remove.
- Avoid cooking sprays containing lecithin, as these can form hard-to-remove residues over time.
How do I remove discoloration or stains from my enamel tray?
Discoloration is often due to baked-on, carbonized grease. Use a baking soda and hydrogen peroxide paste as described above, or soak in a solution of hot water and vinegar before scrubbing gently. Persistent stains may be permanent, but regular cleaning will prevent new ones from forming.
My enamel tray is chipped -- can I keep using it?
Generally, you should retire any tray with chipped or exposed metal for food preparation because the area will rust, can transfer metal ions to your food, and may worsen over time. Consider using the tray for non-food purposes or recycle it appropriately.
Conclusion: Clear and Simple Enamel Oven Tray Cleaning for Life
Banishing grease from your enamel oven tray doesn't have to be an overwhelming chore. Using these clear and simple oven tray cleaning techniques -- from daily maintenance to deep cleaning -- you can maintain a hygienic, odor-free, and gleaming tray for years. Remember:
- Act quickly after each use
- Use only gentle, enamel-safe cleaning products
- Combine natural grease-busting ingredients for an eco-friendly shine
- Protect trays from chips, scratches, and extreme temperatures
Grease banishment is an ongoing habit, but with these practical tips, your enamel oven tray will always be a pleasure to cook with -- and a breeze to clean.
Make oven tray cleaning a regular and rewarding part of your kitchen routine, and enjoy tastier, safer, and healthier meals every time!


